the WEDDING GUIDE
By Hayley Jade Photography
YOU’RE GETTING MARRIED!
Wedding planning can feel overwhelming and it can be hard to know where to start and what decisions to make. I have made this guide to help you go through step by step through some of the most important questions when it comes to planning a wedding big or small! As someone who has got married and attended many weddings being a wedding photographer, I have done my best to add all of my best tips into this wedding guide from a photographer and visual perspective and to give you a good starting point if you are planning it on your own.
* I do recommend getting a planner when and where possible and have amazing recommendations on my preferred vendor list but if you are unable to then I hope this guide helps and is a good starting point.
Overview step by step process to planning your wedding
Step 1
Choose a date and time, find a wedding planner (if able), create a budget, find venue/location and then your dream photographer. Nail down what type of wedding size, and style you are wanting.
Step 2
Choose a location. Start shopping around for and booking additional vendors based on which vendors you want.
Step 3
Get an engagement session done, decide on stationary for the wedding, send out save the dates, get wedding attire and get it tailored.
Step 4
Plan the timeline for the day, order stationary for the wedding invitations, book getting ready location and put together a list of things you want to get / be included in detail shots. Finalize your guest lsit.
Step 5
Get marriage licenses. Ask 1-2 family members to be in charge of group photos and gathering people on the day of. Have a timeline phone call finalizing details with the wedding planer, photographer and confirm plans with vendors, and bachelor / bachelorette party.
Step 6
Final wedding attire fitting, get together your getting ready bag, get together your list or box of detail shots, get LOTS of rest.
Step 7
YOUR WEDDING DAY! Enjoy every moment of it and let your photographer capture every detail and precious memory you make on that day!
Discover your perfect day
INTIMACY + GUEST COUNT
Think of your special day what do you picture in your head. Now ask yourself a few questions, who is there? Is it those who are closest to you, a big grand party? Do you picture those people because it is tradition or is it because it is who you want there? How long do you picture your celebration? A weekend, day, half a day… and why? What makes your day special? What makes it you? Who do you want to share that with?
Perfect for those couples who want an intimate wedding shared only with those who they are closest with or going fully private with your photographer and officiant.. Generally these have 2-15 guests (2 witnesses are required for signing the license). Elopements can be local or destination places.
Reasons why I love elopements + micro weddings: I love how emotional these types of weddings feel, It is so private and in my opinion always filled with the best of people who support, love and give nothing but good feelings towards the couple. They are also often times in very unique locations, cheaper all around, and limited stress and drama that can be caused with large groups.
Pro tip: your officiant(or family/friend) and photographer can sign as your witnesses if you didn’t want any other guests., in some states your photographer can register to be an officiant and then if you wanted only your photographer and one other person in attendance as a witness it can be done that way as well.
If you are eloping then view my full Elopement Planning guide here that is similar to this but custom for elopements!!
ELOPEMENTS + MICRO WEDDINGS
Perfect for those couples who want to share their day with all their family and friends and not leave anyone out. They also can have such a grand and special feeling to them.
Reasons why I love medium to big weddings: I love the hustle of everyone getting the day ready, and the excitement of the big and grand gathering.
Pro tip: Intimate and cozy corners can still happen with medium and big weddings. It is even possible to make the ceremony feel intimate which is something not most people think is a possibility with medium or big weddings.
MEDIUM + BIG WEDDINGS
Narrowing down the perfect
LOCATION TYPE +LENGTH
Now is time to decide where and for how long you wedding will be! It can feel a little daunting to decide sometimes but I always say go with your gut and what feels most rewarding and exciting to you!
Local weddings are great for people who want to invite lots of guests that live nearby and for them to have e convience of staying at their houses, It is also great if there is any location that means something to you and your partner or that you visit often.
Pro tip: Visit a variety of local locations and or venues before deciding on one.
LOCAL WEDDINGS
Destination weddings are generally considered anything that is beyond reasonable driving/ commute time from your house or your guests houses, 3+ hours is how I normally categorize it. These are perfect for couples who have a specific outdoor location, venue, or want to be closer to specific vendors or families.
Pro tip: Destination weddings are best paired with wedding weekends.
DESTINATION WEDDINGS
1/2 DAY - FULL DAY
For those who want a more traditional itinerary/list of activities to happen on the day of.
Great for those who want the celebrations to last and who have activities planned the day before with some or all of their guests. Often times guests all stay together.
Pro tip - Get and Airbnb or Vrbo for your guests to make it feel more intimate and for everyone to be able to stay together and not have to worry or deal with other guests that would be in a hotel.
WEDDING WEEKEND
What makes the best
VENUES + LIGHT
First is is important to decide which style or theme you are wanting and then finding a venue that fits what you have choose. Check out my Pinterest board which has lots of different styles and themes to help you decide which you want.
Then check different wedding planning sites like The Wedding Wire, Rocky Mountain Bride, The Knot, The Venue Report, JuneBug Weddings, Green Wedding Shoes, Google search as well as looking on instagram and Pinterest for venues. (the list could go on and on of great resources).
Aside from the normal established venues here are alternative options that are often times my favorite.
Backyards (even rental backyards like Airbnb), bars, campsites are great and turn out being some of the most fun because of how laid back they are and how comfortable the guests feel.
Public lands, national and state parks are my ALL-TIME favorite. I love the outdoors and the variety that they can give. If you are considering this idea make sure to check if you need permits (generally national and state parks do but public lands don’t, permits are generally under $400). These locations can usually save a pretty buck or two not having to rent out a venue!
Pro Tip: If you want to set up a little ceremony you can pick a location were you can drive up to set up and take down easy and or you can get a wagon to pull supplies to the spot and have guests carry their own chairs.
Remember the leave no trace rule.
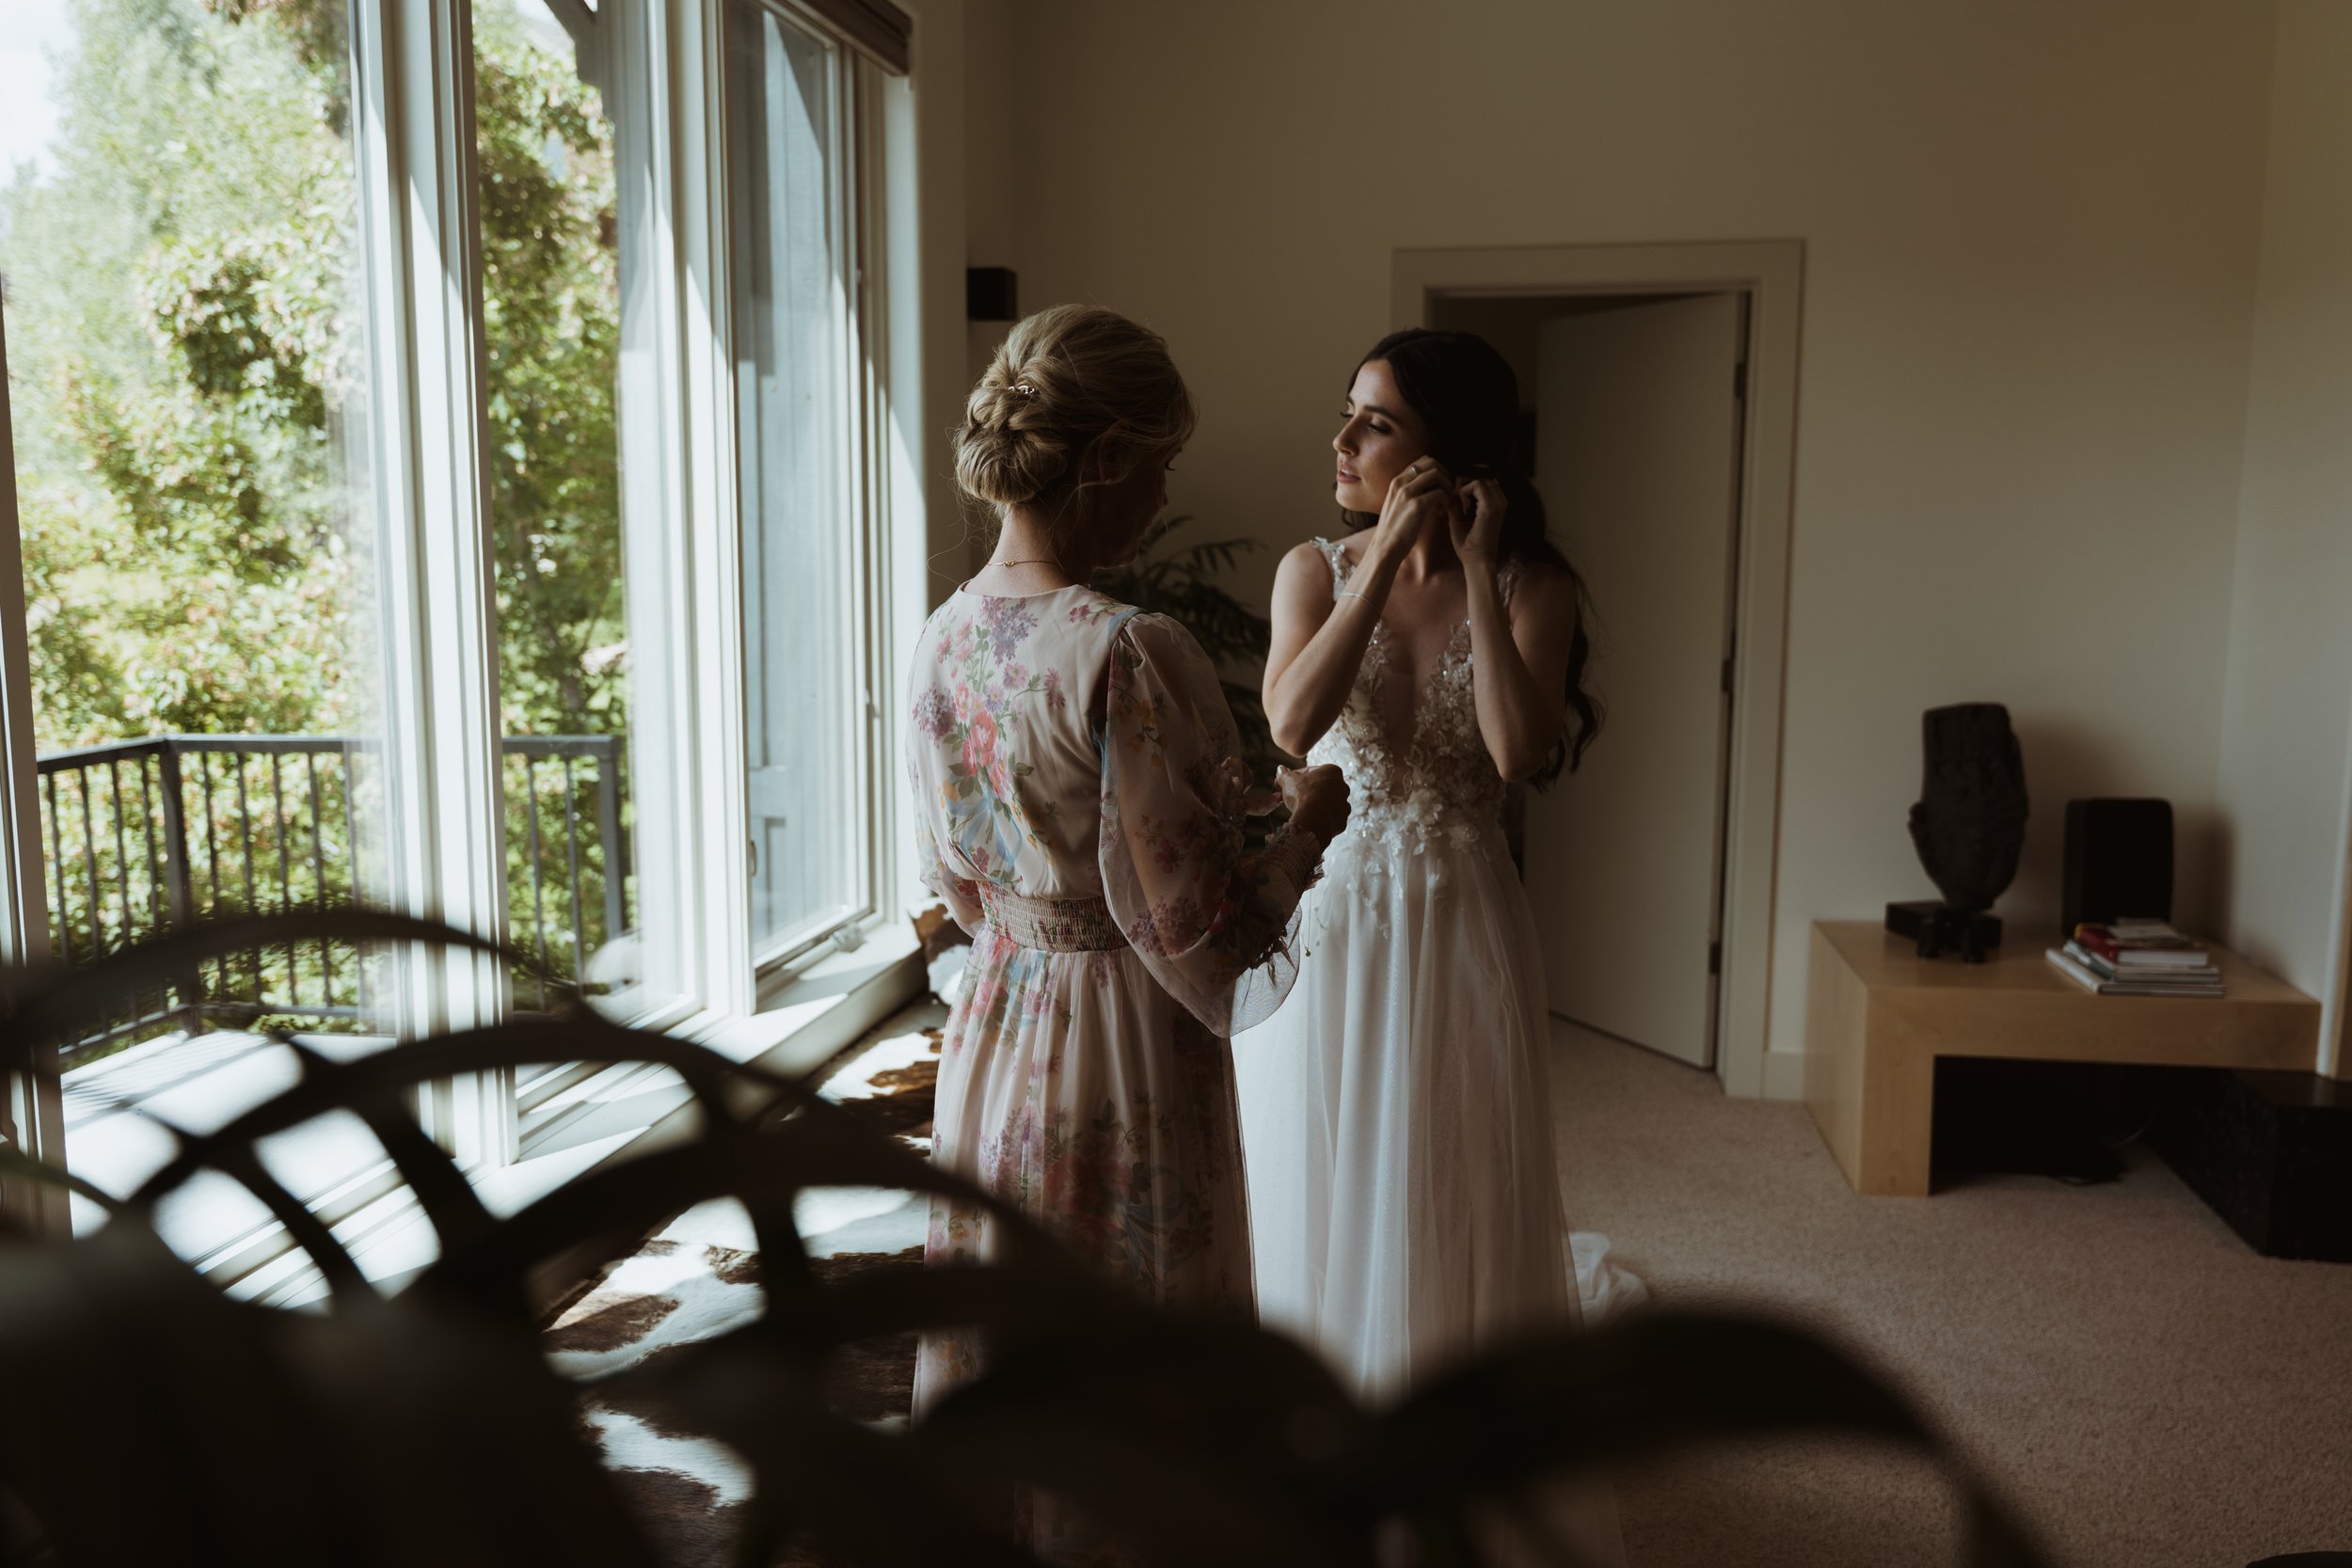
No matter where you decide to get married I recommend being intentional about your getting ready space. For example If you choose to get ready in a crappy hotel bathroom, with bad lighting, everyones luggage around it generally is the equation for not feeling your best, feeling frustrated and isn’t going to have a very special feel. Here is an example of a wedding I did where the bride rented a hotel just for getting ready that was 10 minutes away from the venue. The space and light was beautiful and provided a fun and relaxing place to get ready in.
Pro Tip: Bring your own hanger! It is so worth it to bring a nice wood, or personalized hanger, photos look much more high end and classy and then there isn’t the worry of breaking or snapping the cheap plastic ones!
This topic can feel a little daunting but trust me after this you will be a pro at identifying the types of light and seeing which one you are wanting!
Pro Tip: Remember that when you are viewing a venue or location that the sun will be rising and setting in different position and times due to the season that your wedding will be in. Make sure to use the sun seeker app as well as google to find out the times and positions to best plan out where you should place your ceremony and what time.
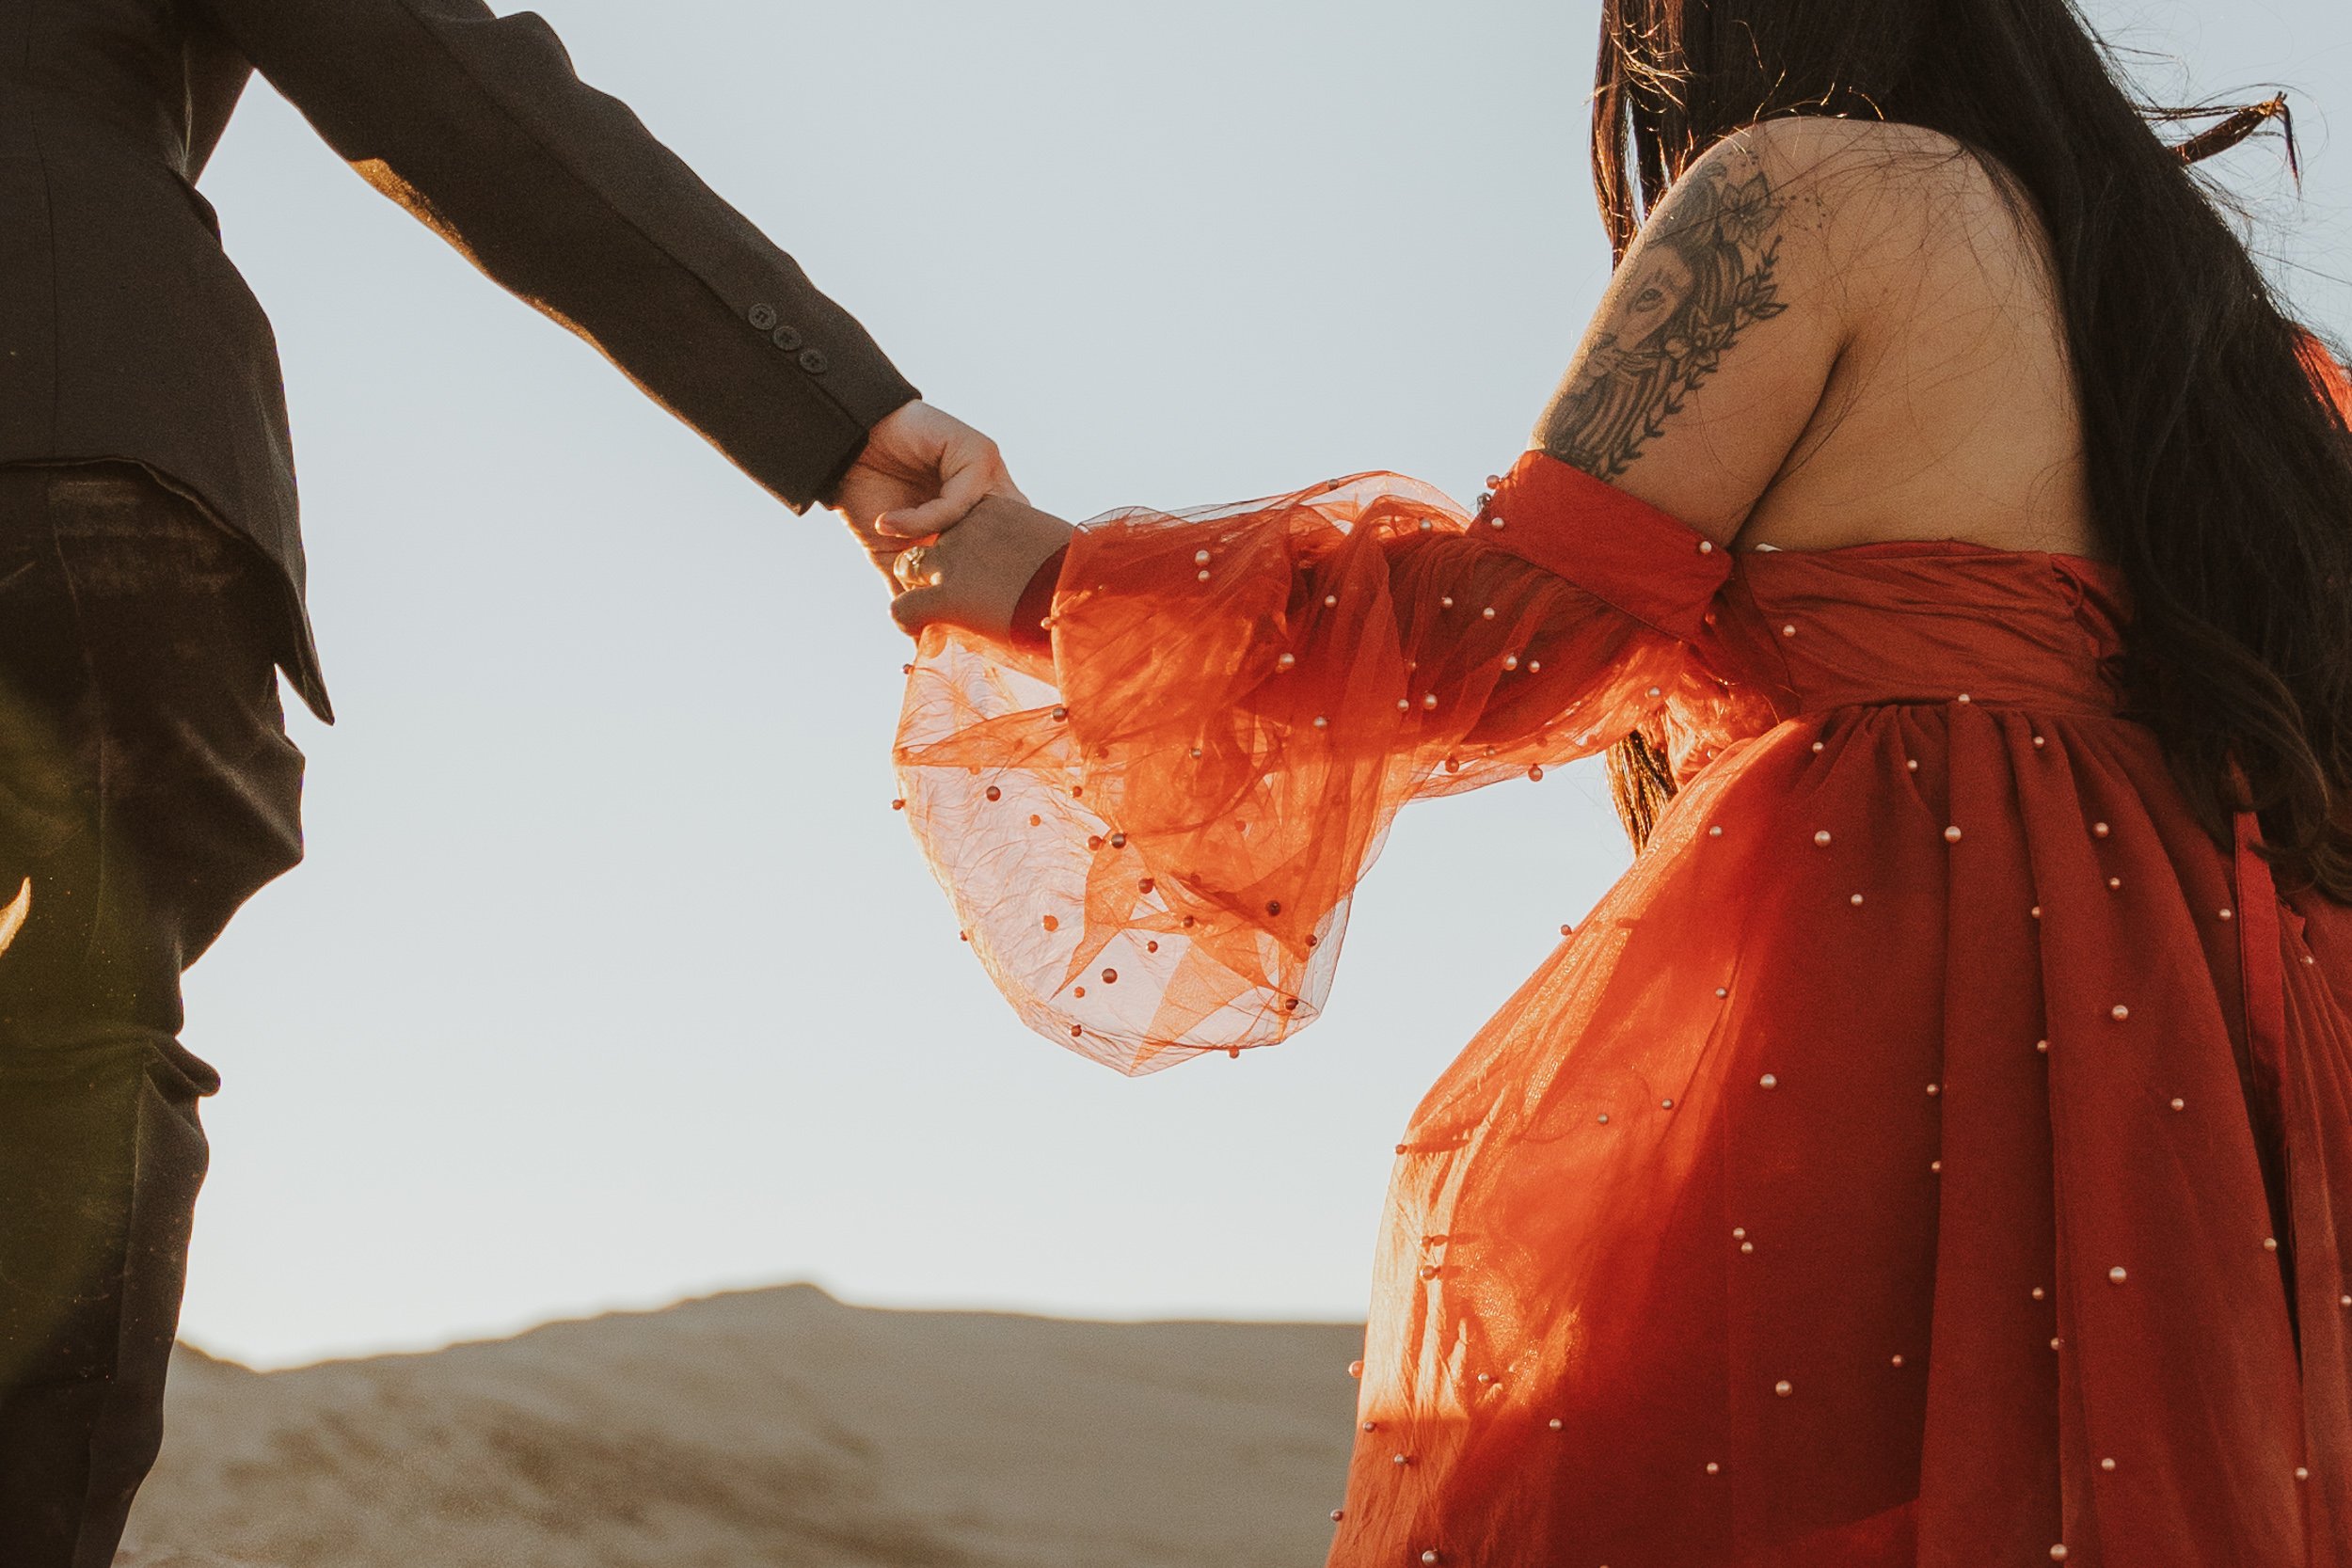
Uneven light : This type of light is the least flattering (generally speaking… don’t get me wrong you can do some pretty artistic things with it but as far as weddings it is least flattering). This type of light is essentially really bright in some areas and really dark in others ex: One face is lit up like a Christmas tree and the other is dark and in a shadow. It also causes loss in colors, details and often has some guests eyes burning. If you can’t avoid uneven light the best thing to backlight meaning have the light positioned directly behind you. (like pictured in the picture of hands)
Now let’s talk about Light!
Uneven light to avoid
Uneven - Backlit (best alternative in this lighting situation)
At all costs avoid having the sun be positioned upwards, it is hard on the guests, creates sunburns and creates “ugly” shadows on peoples faces making it difficult to get decent up close and detail shots.
Shaded or overcast: This is the best case scenario for light, it creates a even light that feels more true to color, details and is the best comfort on eyes and skin.
Reception and indoor lighting: The more lights that you can add the better! There can never be to much light in a venue! Low light cause poor image quality, loss of details and total reliance on flash which does not capture all details resulting in having poor images and relying on editing them in black and white to salvage them. My best recommendation is by adding candles and string lights, there are great deals on amazon as well as Costco. Patio or restaurant lights tend to be a lot better than Christmas lights.
There is always the option of flash photography on top of added lights but it does have a very unique and specific vibe, it’s more bold and daring which sometimes isn’t the right vibe for the moment (the cake cutting picture above is purely taken with flash). This is on top of my camera, doesn’t need an outlet but is limited to one angle of light which is direct.
There can be mixed lighting of natural light, string lights as well as my professional studio lights which is to the right of the cake cutting picture, if you look close you can see the lights next to the white pillars.
A few things to consider with my studio lights:
They need outlets to plug into
They take time to set up
Every event of the night the lights need re-arranged meaning your MC needs to be in close communication / have a “runner” to communicate to me giving me a 5 min. warning before the next event is happening to give me time to prep the lights (otherwise the lights aren’t set up resulting in poor lit photographs)
WEDDING DAY TIMELINES
SAMPLE TIMELINE #1: View Gallery Planned by Your Perfect Bridesmaid
10 hour photographer coverage
Vendor arrival times
12:00 - Access to venue
12:00 - Personal Items arrive
12:00 - Wedding planner arrives
1:00 - Photographer arrives at Ace Hotel
12:00 - Kate - Floral arrives
3:00 - Catering Arrives
3:00 - DJ & Pianist arrival
5:00 - SET UP COMPLETE
6:00 - Photo booth set up
Getting ready
Bride
9:00 - Hair and Makeup begins at Urbaca Salon
12:30 - Hair and Makeup is done
12:45 - Bridal Party and those invited arrive at Ace Hotel
1:00 - Photographer meets up with the bride at Ace Hotel
1:45 - Bridal party and family are dressed
1:50 - Bride is dressed
2:00 - Leave for first look location.
Groom
1:45 - Groomsmen and family are dressed
1:50 - Groom is dressed (gets ready at the venue)
2:00 Leave for the first look location
Pre Ceremony
2:00 - First look and private vows
2:45 - Bride and groom portraits
3:15 - First look with bride and her brothers and dad
3:00 - Immediate family arrives for photos, boutonniere pinning
Ceremony -
5:00 - Guests begin arriving
5:30 - Ceremony begins (processional order , groom and mom, b&g1, b&g2 etc…)
5:45 Ceremony ends
6:00 Photo booth arrives (operates from 8-11)
Cocktail hour
5:45 - Cocktail hour begins on the outside patio
5:45 - Signing of the marriage license
5:50-6:00 - Bride and Groom alone time
6:05 - Champagne tower
6:40 - Cocktail hour ends
Reception
6:40 - Seat for dinner
6:45 - Welcome speech by bride and groom, dinner is served
7:15 - Toasts and orders (MOG, MOH, Groomsmen, Brother 1 & Brother 2)
7:30 - Cake Cutting (save top tier and only serve bottom tier to the wedding party)
7:45 - signature dances (songs and who is dancing with who)
8:00 - Photo booth opens, dance party starts (optional add in for more photos)
9:10 - Lake night snack - pizza
10:30 - Last call
10:50 - Sparkler exit and getaway car for Bride and Groom
SAMPLE TIMELINE #2: View Gallery
8 hour photographer coverage
10:00 - Bride and bridesmaids begin getting ready at the hotel (15 min from the venue)
2:00 - Photography arrives and for 1 hr of getting ready photos, putting the dress on and pictures with bride and bridesmaids
3:00 - Bride and Bridesmaids eat
3:00 - Photographer heads to the venue to set up lighting equipment
4:00 - Videographer arrives
4:00 - Bride and bridesmaids arrive
4:00 - Groom begins getting ready
4:20 - Getting ready photos of the groom
4:45 - Groom opens gift from the bride
5:00 - First touch (30 min)
5:30 - Officiant arrives, Bride, groom and officiant mic up.
5:45 - Gather bridal party, chat with the photographer and videographer, line up.
6:00 - Ceremony (vows, unity candle)
6:45-7:45 - 10 min of portraits and 30 min of family and group photos (dinner being served)
7:45-8:15 - Bride and groom eat during toasts
8:15 - Cake Cutting
8:25 - First dance
8:30 - Parents dance
8:45 - Garter toss
8:50 - Bouquet toss
8:55 - Open dance floor
9:30 - Sparkler send off
FLAT LAYS
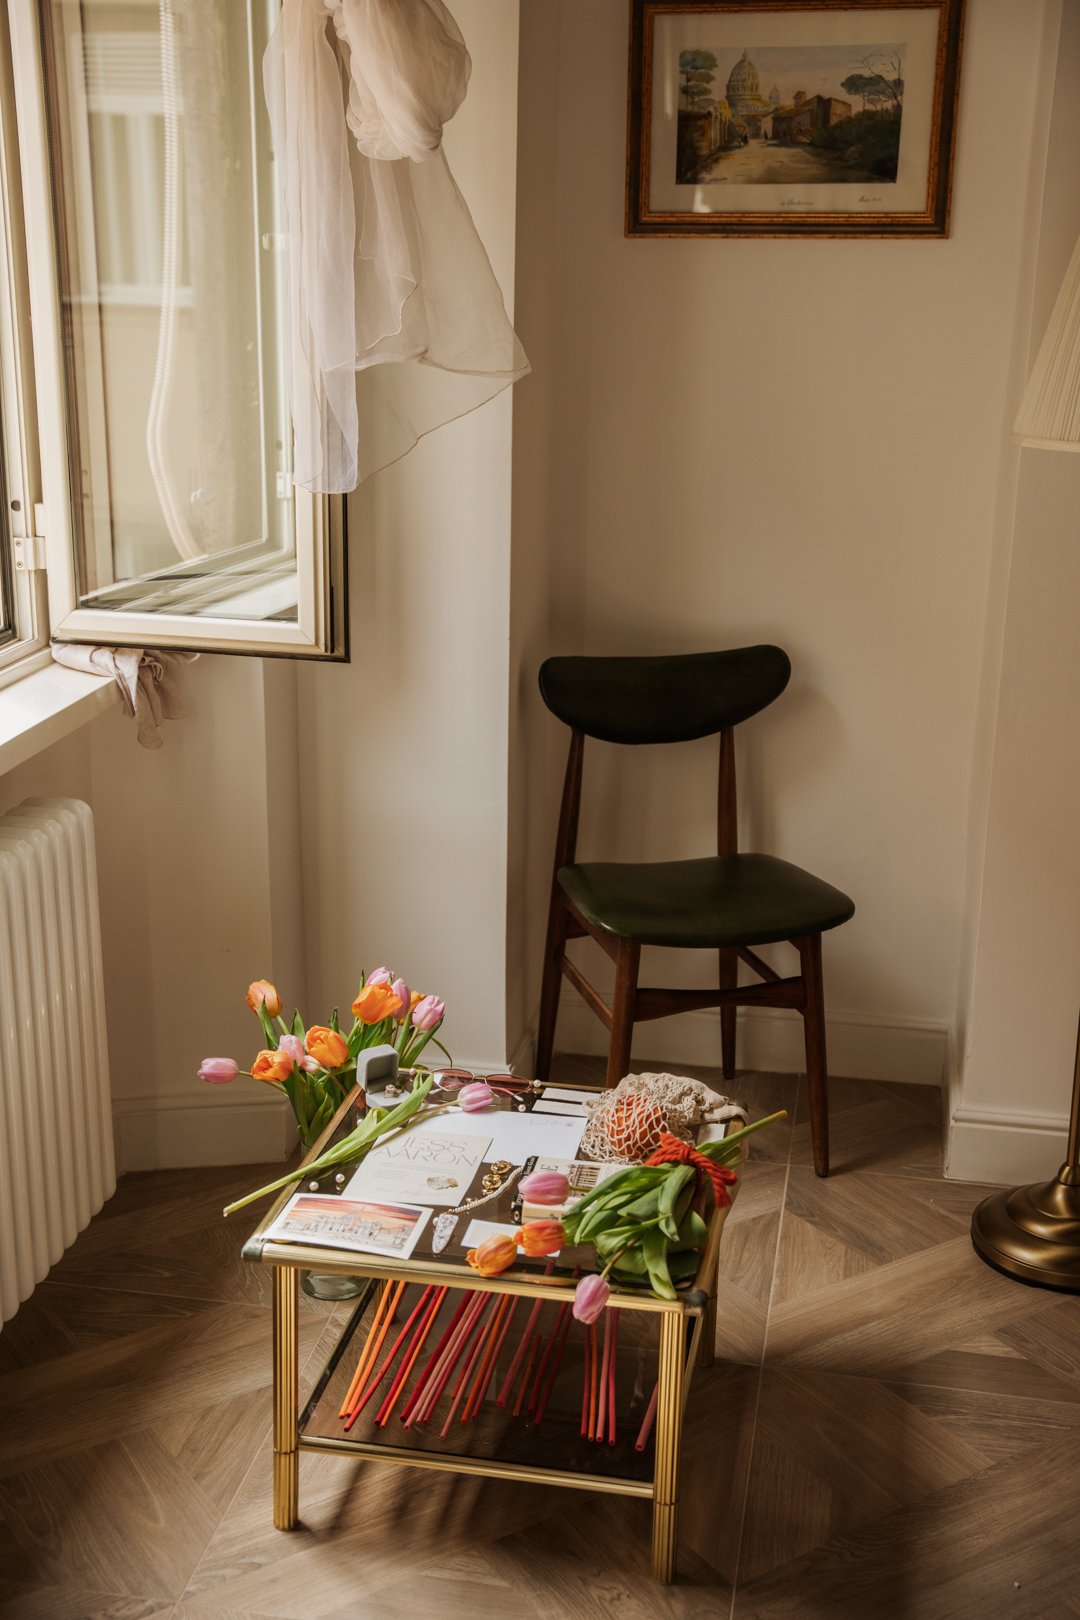
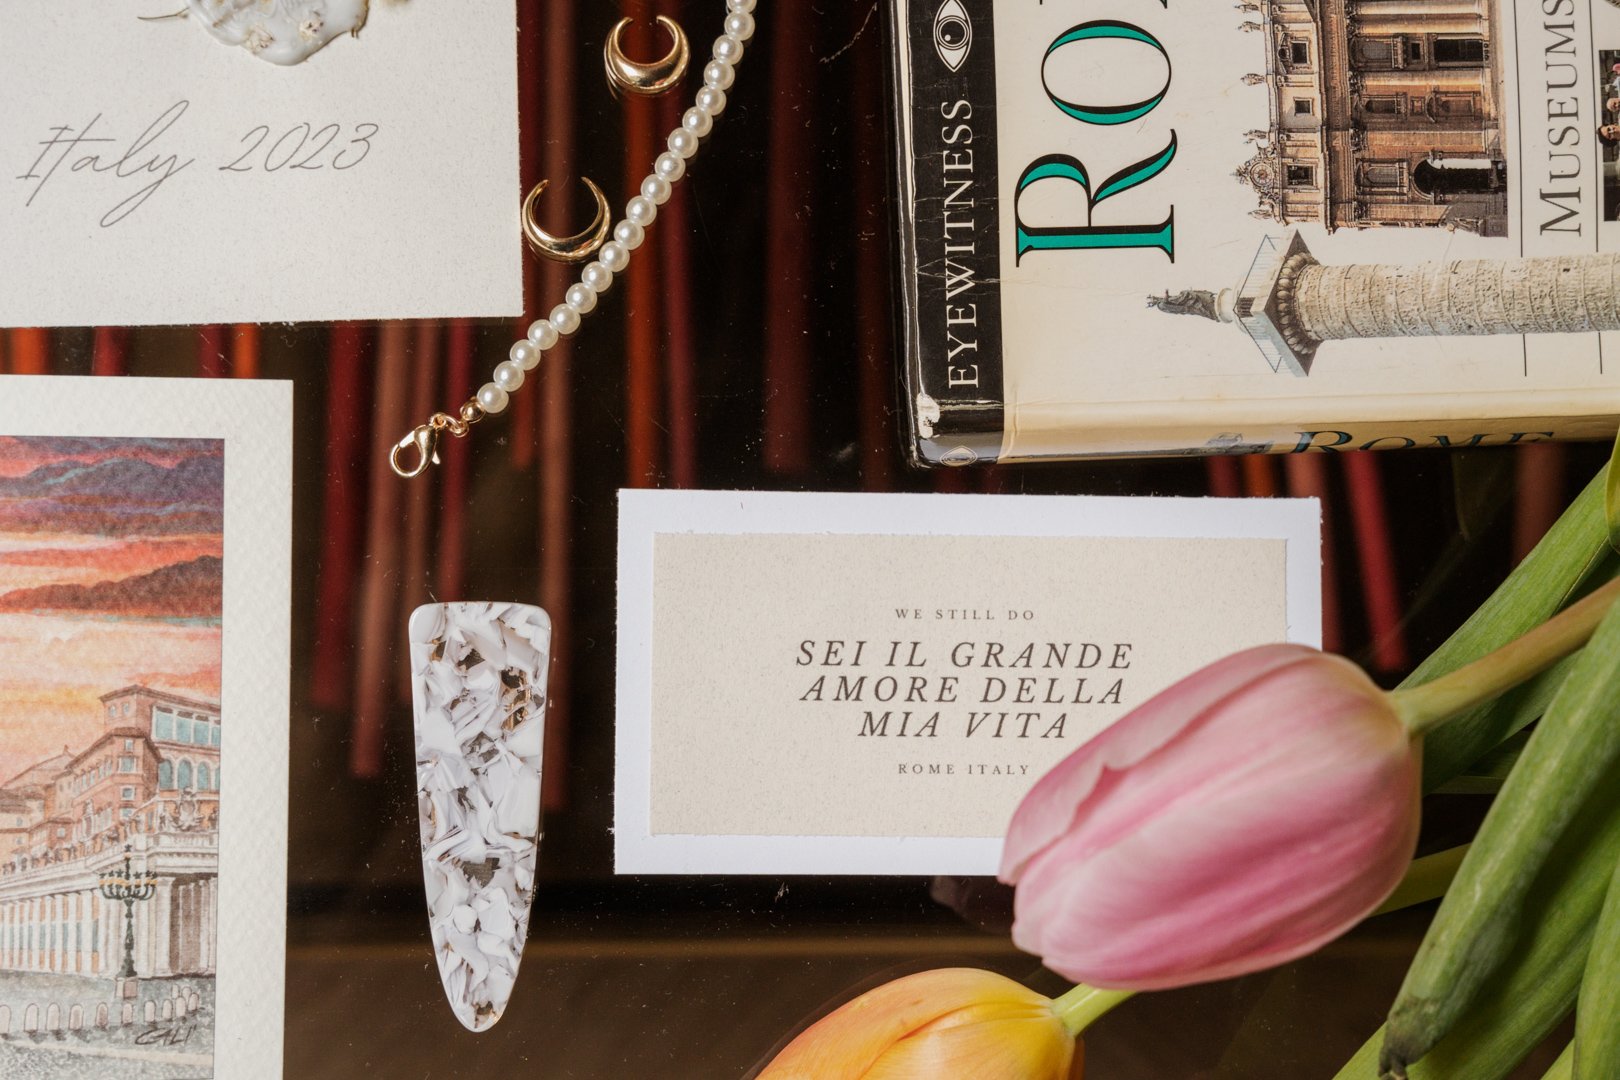
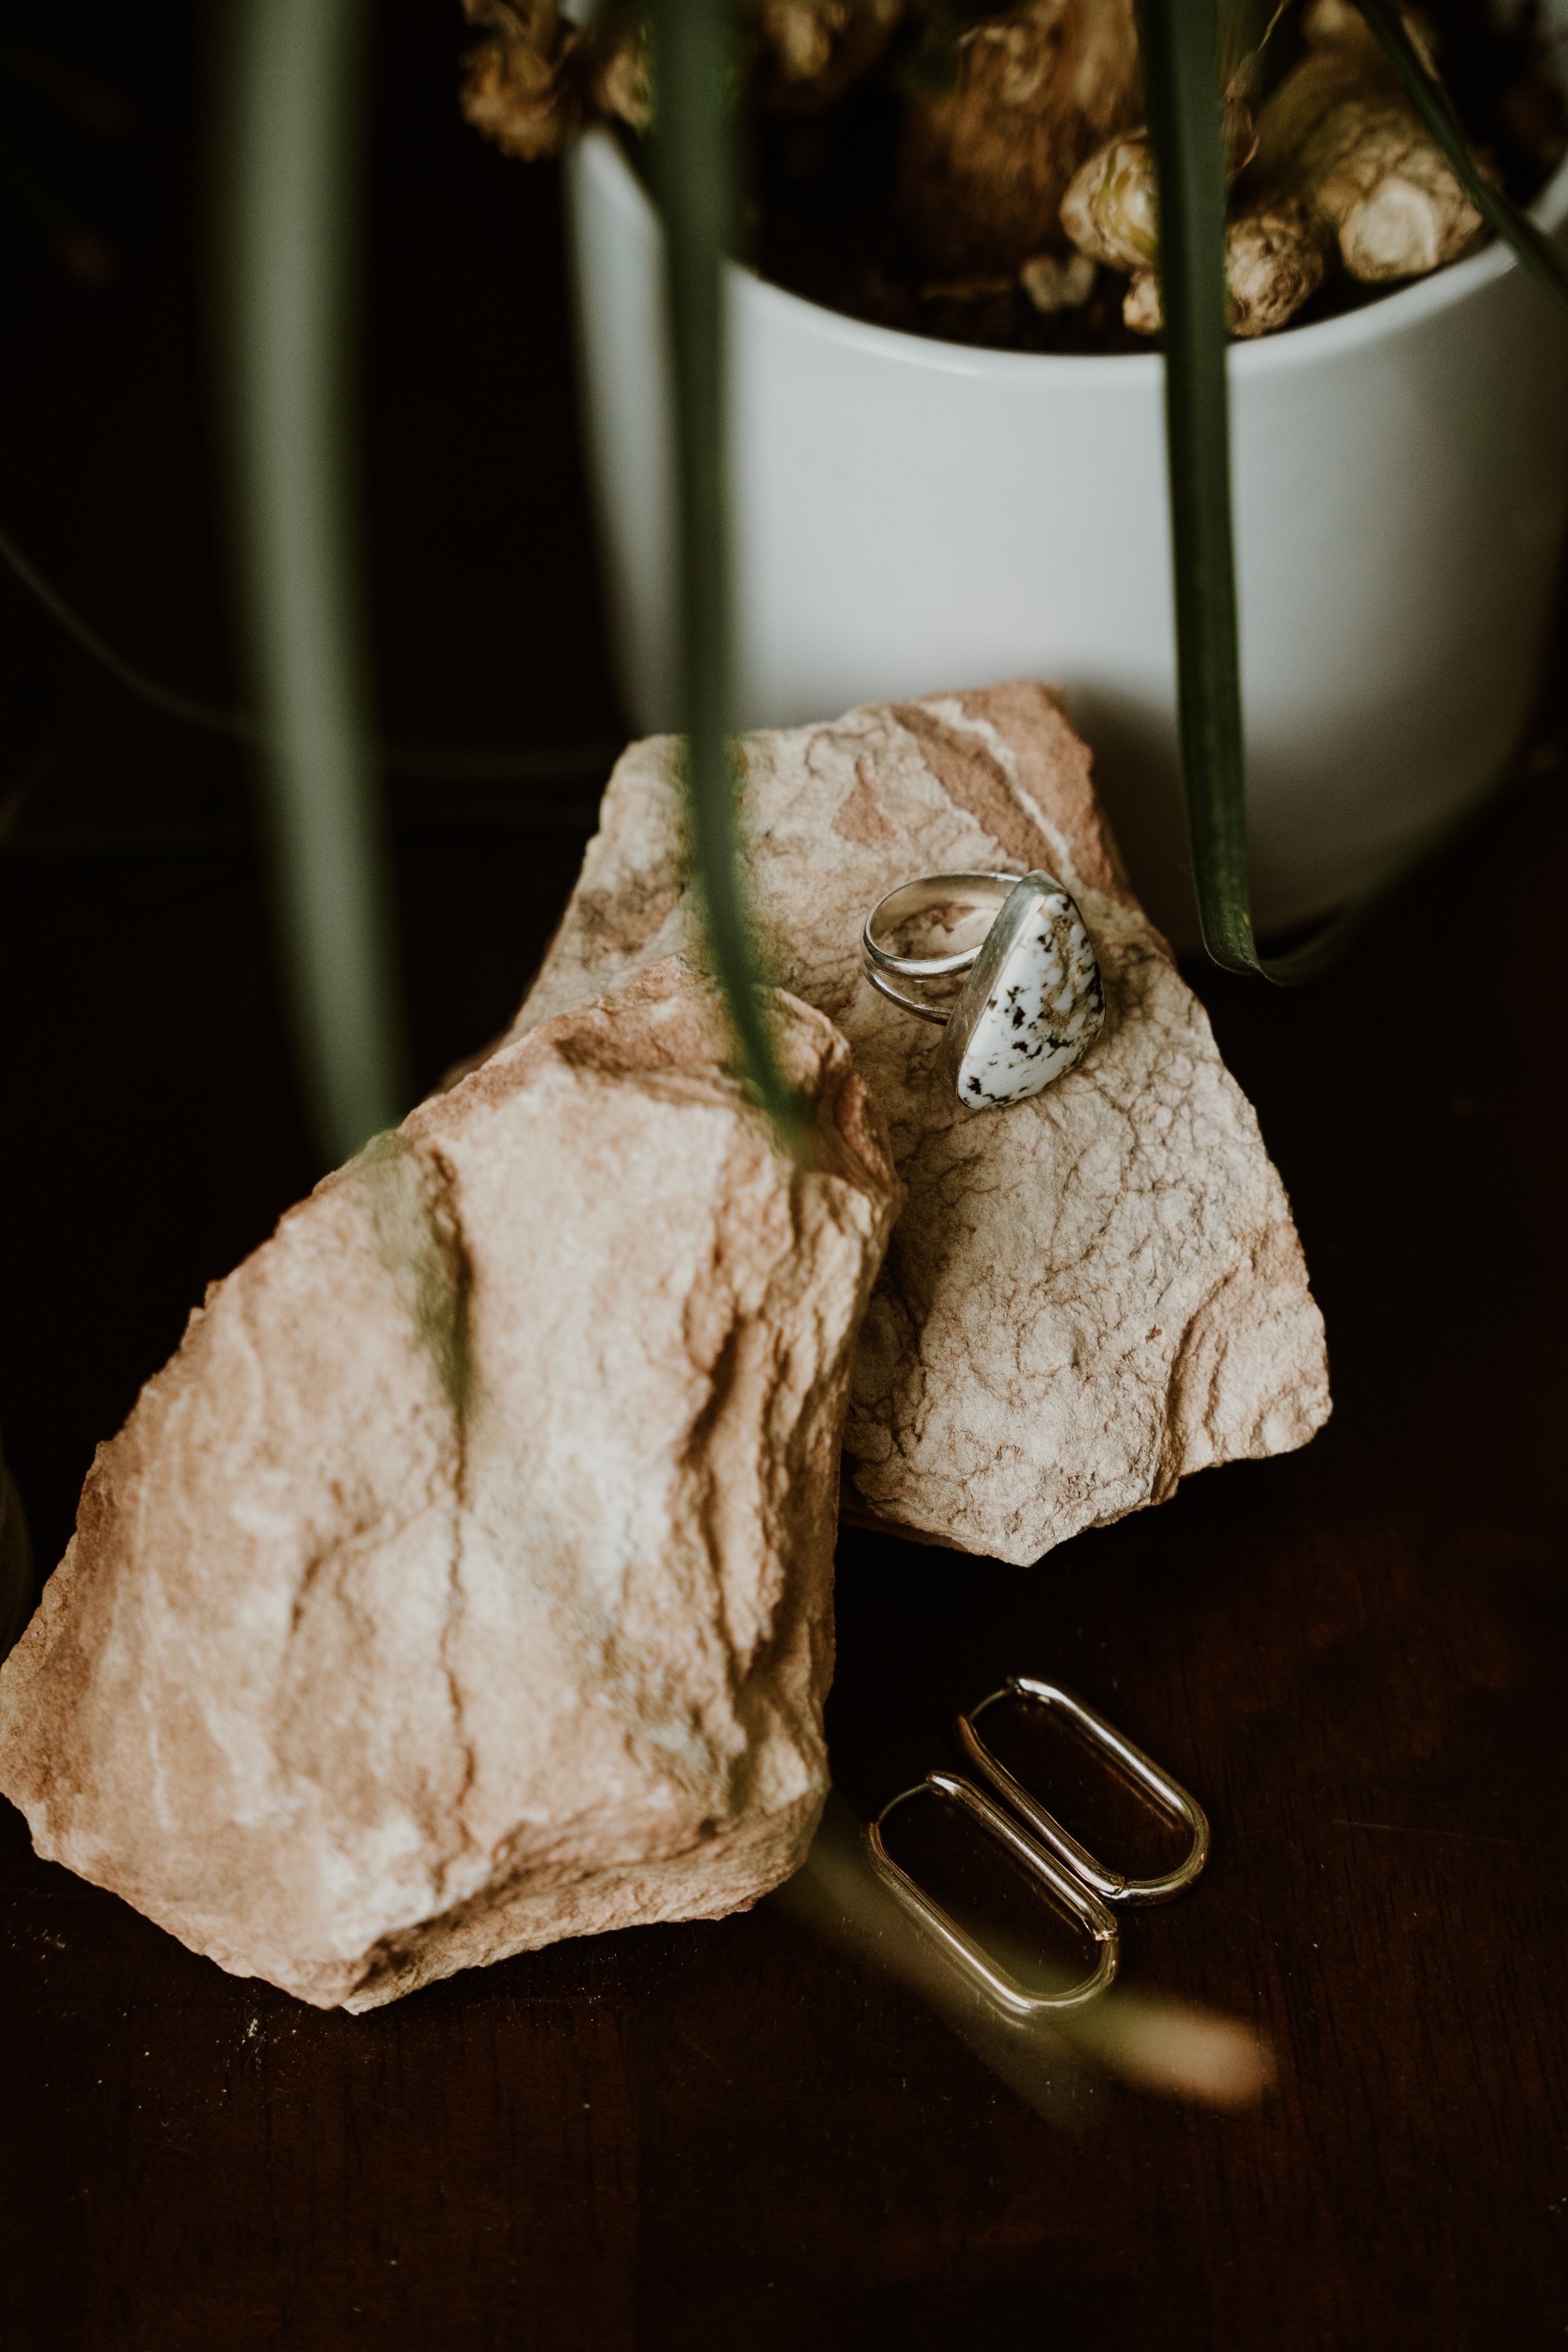
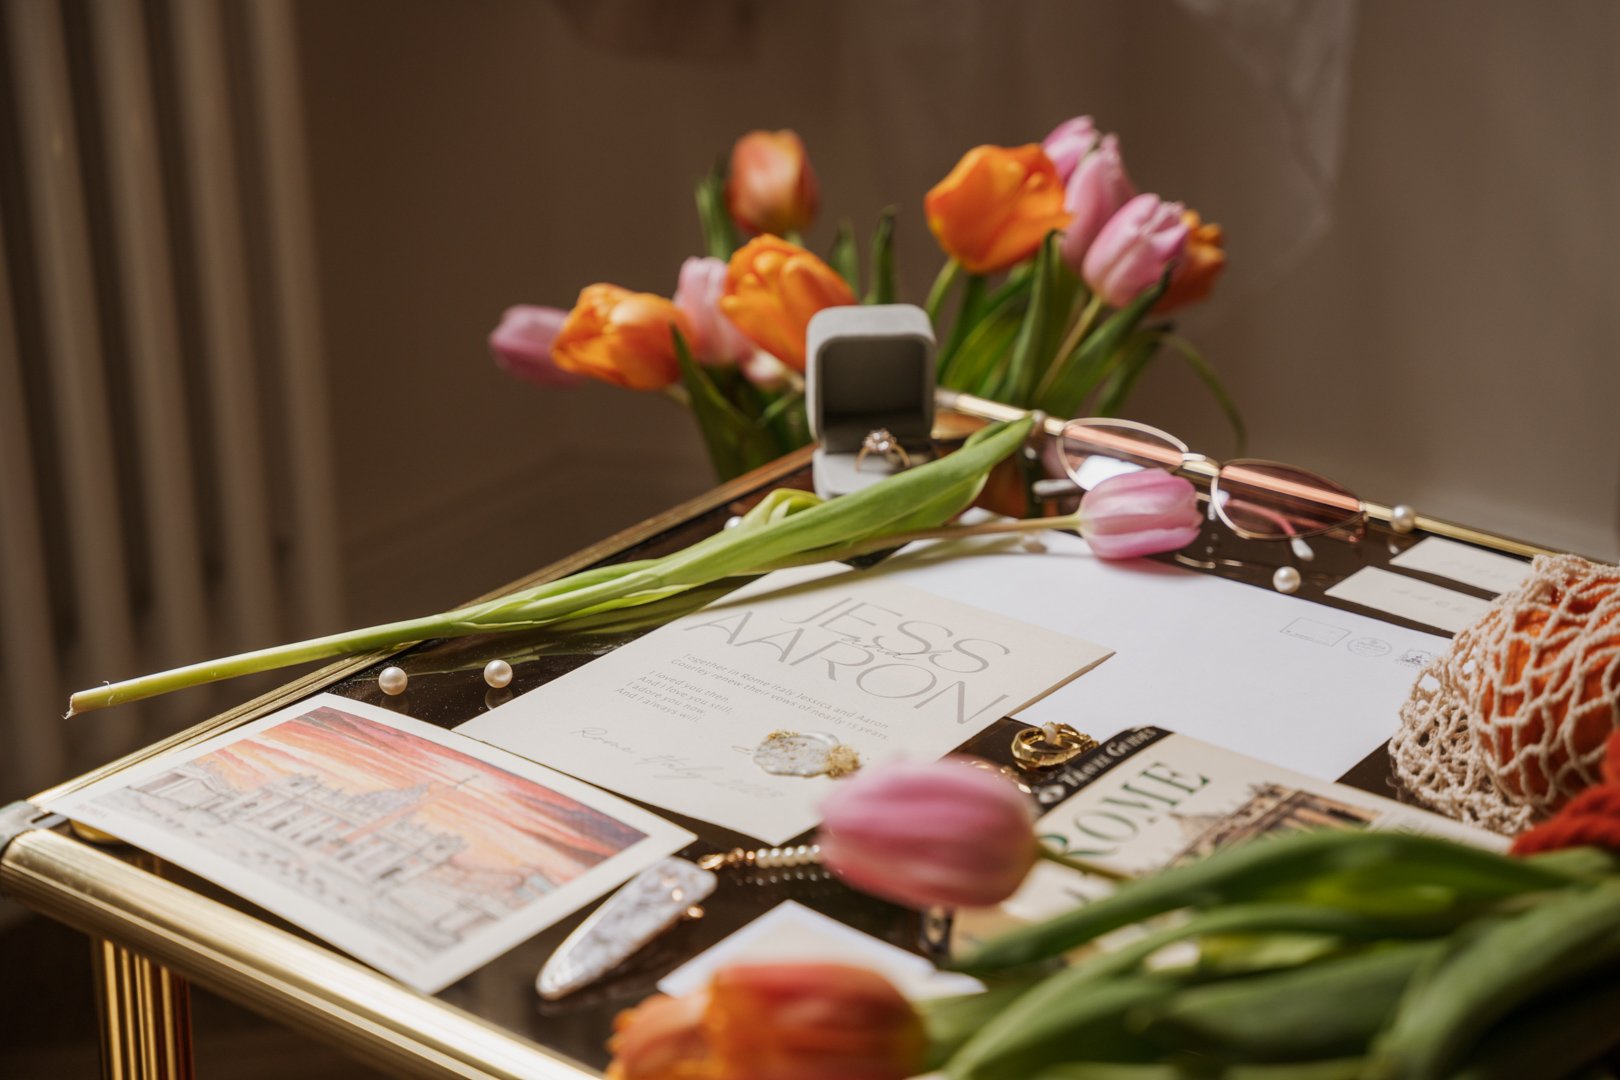
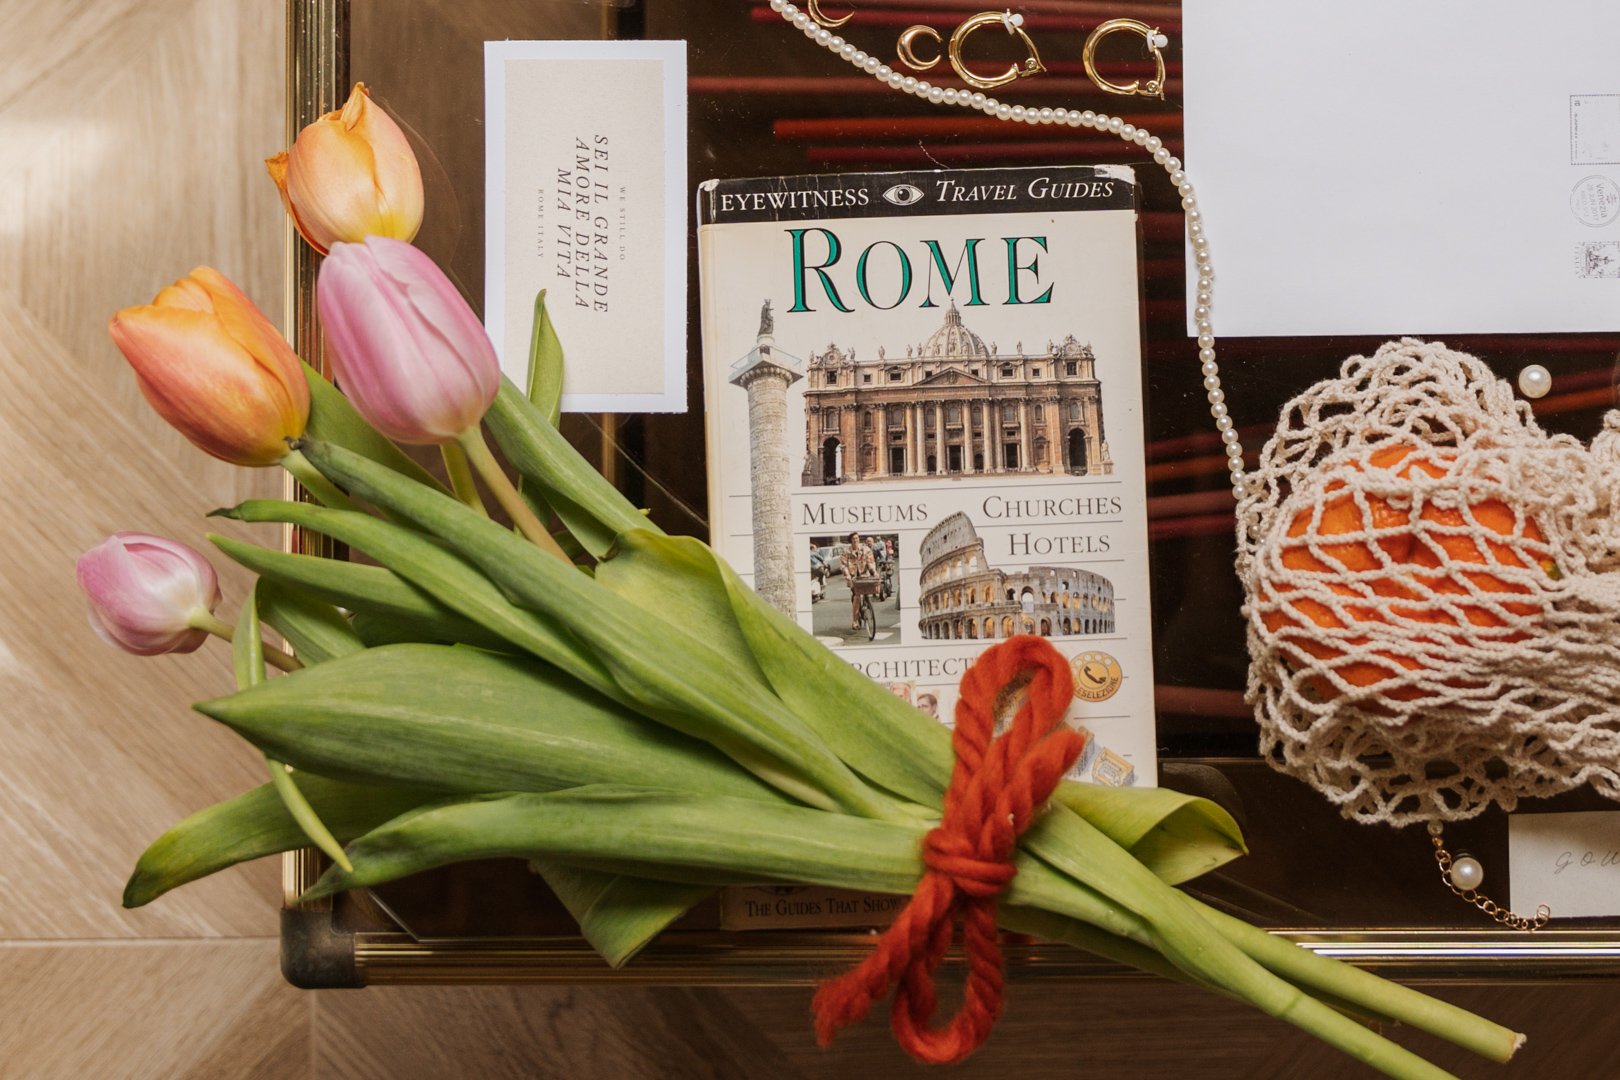
Having a flat lay of details on your day is totally optional. If you don’t care for a flat lay I will photograph details through out the day naturally.
If you do want a flat lay, decide what your detail shot list is and let me know as well as have a bag ready with all of it so that I can photograph every beautiful detail and do flat lays for you (in faster time), If you have a bag ready it can go fast and only about 10-30 minutes is needed to be planned into the timeline for me to capture the flat lay detail images. If the items are not gathered beforehand it often takes 10-20 minutes to gather the items and then another 10-30 for me to photograph them.
Ideas for what you can add into your flat layWedding rings
Ring box
Vow books
Stationary, wedding invites
Shoes
Fabric Samples
Flowers or greenery
Perfume
Jewelry (necklace and earrings)
Watch
Lip Stick
Polaroid Pictures from the day of
Post card (of the city you are in or a city that means a lot to you)
Other: candles, rocks, pearls, books, wax seals, stationary of your names, a quote or poem






last but not least
BONUS TIPS, IDEAS + ADVICE
Tips and things I have learned while attending weddings
Weddings often start 20 minutes late, plan it in the day if you don’t want it affecting the timeline and or hire a planner to take care of everything.
Suit Coat Buttons: The general rule for buttoning a suit jacket is "sometimes, always, never":
Sometimes: Fasten the top button, depending on the occasion and style
Always: Fasten the middle button to maintain the suit's shape
Never: Fasten the bottom button to allow for ease of movement and to preserve the suit's fit
Here are some tips for buttoning different types of suit jackets:
One-button suit: Button up the suit while standing, and leave it open while sitting
Two-button suit: Close the first button when standing, and leave the bottom button undone
If you want to lengthen your ceremony time (to enjoy the moment even longer) invite a few guests beforehand to come up and share well wishes or advice during the ceremony or even to share a poem.
Be careful of tan lines leading up to the wedding
Don’t wear your watch, bra, or tight socks while getting ready or you might have indents or red marks on your body while walking down the aisle.
Practice walking in your dress and shoes before the wedding (like around your house)
Tell me (your photographer ;) any creative or artistic photographs you are wanting to capture beforehand
Create a mood board of ideas and inspiration for your wedding or photography. I love collaborating on Pinterest Mood boards and we can do this together if you want.
Take mental notes or pictures through out the day to help remember and soak in the day
Appoint a friend or family member as appointed phone picture taker (without interfering with the photographer) if having behind the scenes pictures and videos is important to you
Appoint 1 - 2 people to be in charge of group photos, who has the group list and knows the faces of the people. This helps group photos run much faster and smoother
A first look or first touch is a great way of getting bonus time/photographs together before the ceremony
If you do a first look before the ceremony then often times it is a great idea to knock out couple portraits and or group photos before the ceremony. This allows the couples to be more present the rest of their night and to not have to be pulled away for pictures.
Determine if you want an unplugged wedding (no phones during the ceremony) beforehand so that way it can be communicated to guests prior, on the invites as well as signs. (I have found that if it is only announced by the officiator and the guests didn’t know prior it often becomes the talk of the guests and isn’t followed by many)
Expect hiccups on the day and have someone appointed (if you don’t have a wedding planner) to make decisions based on what you would do
If you don’t like cake… don’t have it! I have seen many different deserts and desert cuttings at weddings and it only makes the day more authentic to you if you serve and eat foods you actually like
Prioritize eating and drinking through out the day. The worst thing is feeling dizzy, light headed, headache or starving on your day. It makes it hard to be in the moment and enjoy it so take care of yourself!
Provide weather/climate control things to your guest during the ceremony to keep them comfortable in outdoor weddings. ex, umbrellas, gloves, hats, scarfs, hand warmers, blankets, bug repellant.
Steam your dress the night before so the day of it is just touch ups.
Ideas to make your Wedding day feel more like YOURS
To lengthen your ceremony time (to enjoy the moment even longer) invite a few guests beforehand to come up and share well wishes or advice, have a prayer circle or do a meaningful ritual
Give gifts to each other on the big day
Don’t be afraid to plan and do the things that will make you most happy
Practice walking in your dress and shoes beforehand
Tell me (your photographer ;) any creative or artistic photographs you are wanting to capture beforehand
Create a mood board of ideas and inspiration
Get creative
Take mental notes or pictures through out the day to help remember and soak in the day
Appoint a friend or family member as appointed phone picture taker (without interfering with the photographer) if having behind the scenes pictures and videos is important to you
Create a drop box and QR code for it where guests can scan and upload their pictures for you to have
A first look or first touch is a great way of getting bonus time/photographs together before the ceremony
If you do a first look before the ceremony then often times it is a great idea to knock out couple portraits and or group photos before the ceremony. This allows the couples to be more present the rest of their night and to not have to be pulled away for pictures.
Determine if you want an unplugged wedding (no phones during the ceremony) beforehand so that way it can be communicated to guests prior, on the invites as well as signs. (I have found that if it is only announced by the officiator and the guests didn’t know prior it often becomes the talk of the guests and isn’t followed by many)
If you don’t like cake… don’t have it! I have seen many different deserts and desert cuttings at weddings and it only makes the day more authentic to you if you serve and eat foods you actually like
Get ready with people who are special to you (often times sisters, mothers and bridesmaids).
Get ready with your fiance… This is less conventional but is more popular with small weddings or elopements and is such a unique and intimate idea.
Schedule in alone time with your fiance on your wedding day.
Do a private dance at the end of your wedding.
Get creative/do a send off or grand entrance that feels like you! Here are some ideas for those! And here is a special eco friendly list.
On the Blog


